As posted a while back, I got two broken 15 inch speaker drivers from Craigslist: an ElectroVoice (EV) 815-3324 and this Eminence Kappa Pro-15A. While the EV speaker does work (albeit with voice coil rubbing noises), the Kappa Pro-15A was completely open-circuit when I got it. I thought this was probably due to operator error (either the original owner was playing it too loud or perhaps his/her amp was clipping a lot). But while surfing on eBay the other day, I found more listings for these Eminence 15 inch speakers. If I recall, one was exactly like this model (Kappa Pro-15A), while another was a Delta 15A, and also a Delta-Lite 2515. All of these were listed as not working, two of which with open voice coil. So I started thinking that perhaps this is not a random problem after all. Reason I say that is because I already repaired mine, and there are several things I suspect as a possible cause for this. So here goes a thread…
For those of you who are drinking something now, you might want to go and refill your drink here, because this could take a while to read.
As usual, I always start with the item in its “as is” condition.
Overall view:
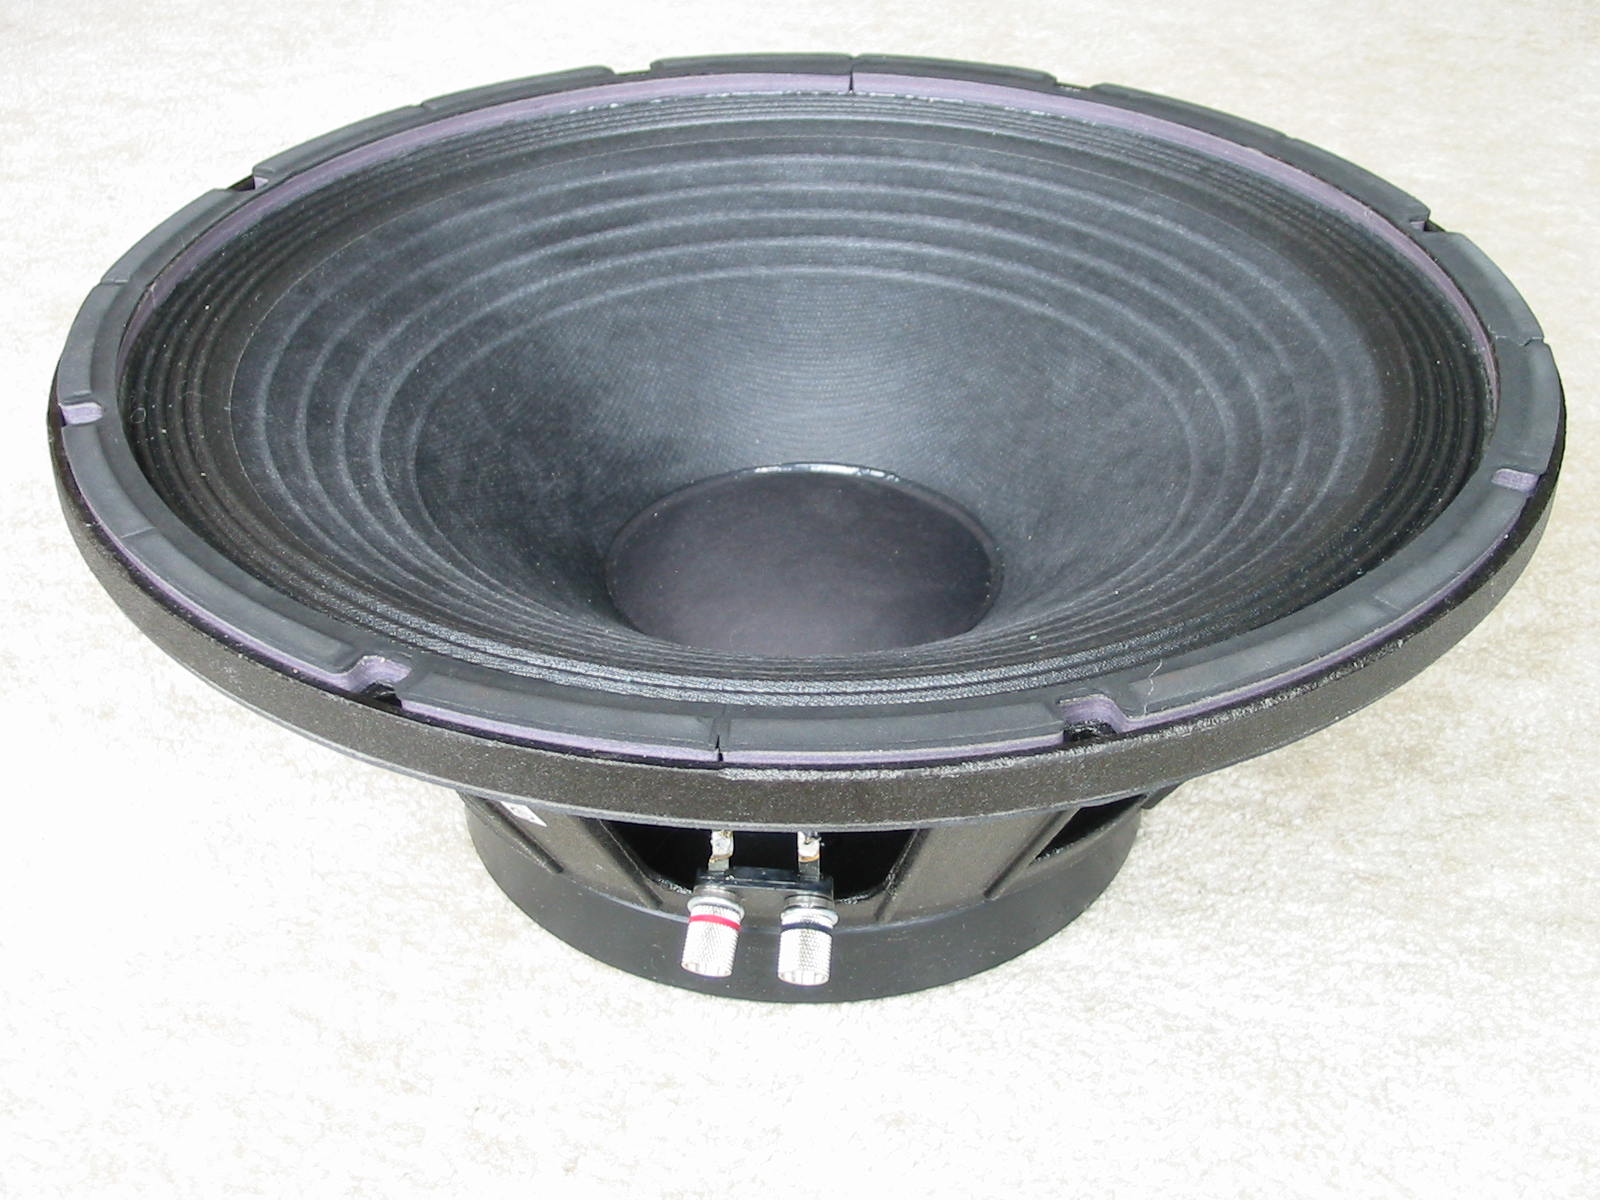
Top view:
https://www.badcaps.net/forum/attach...1&d=1477969159
(notice how small the GU10 light bulb is compared to the speaker)
Bottom (sticker) view:
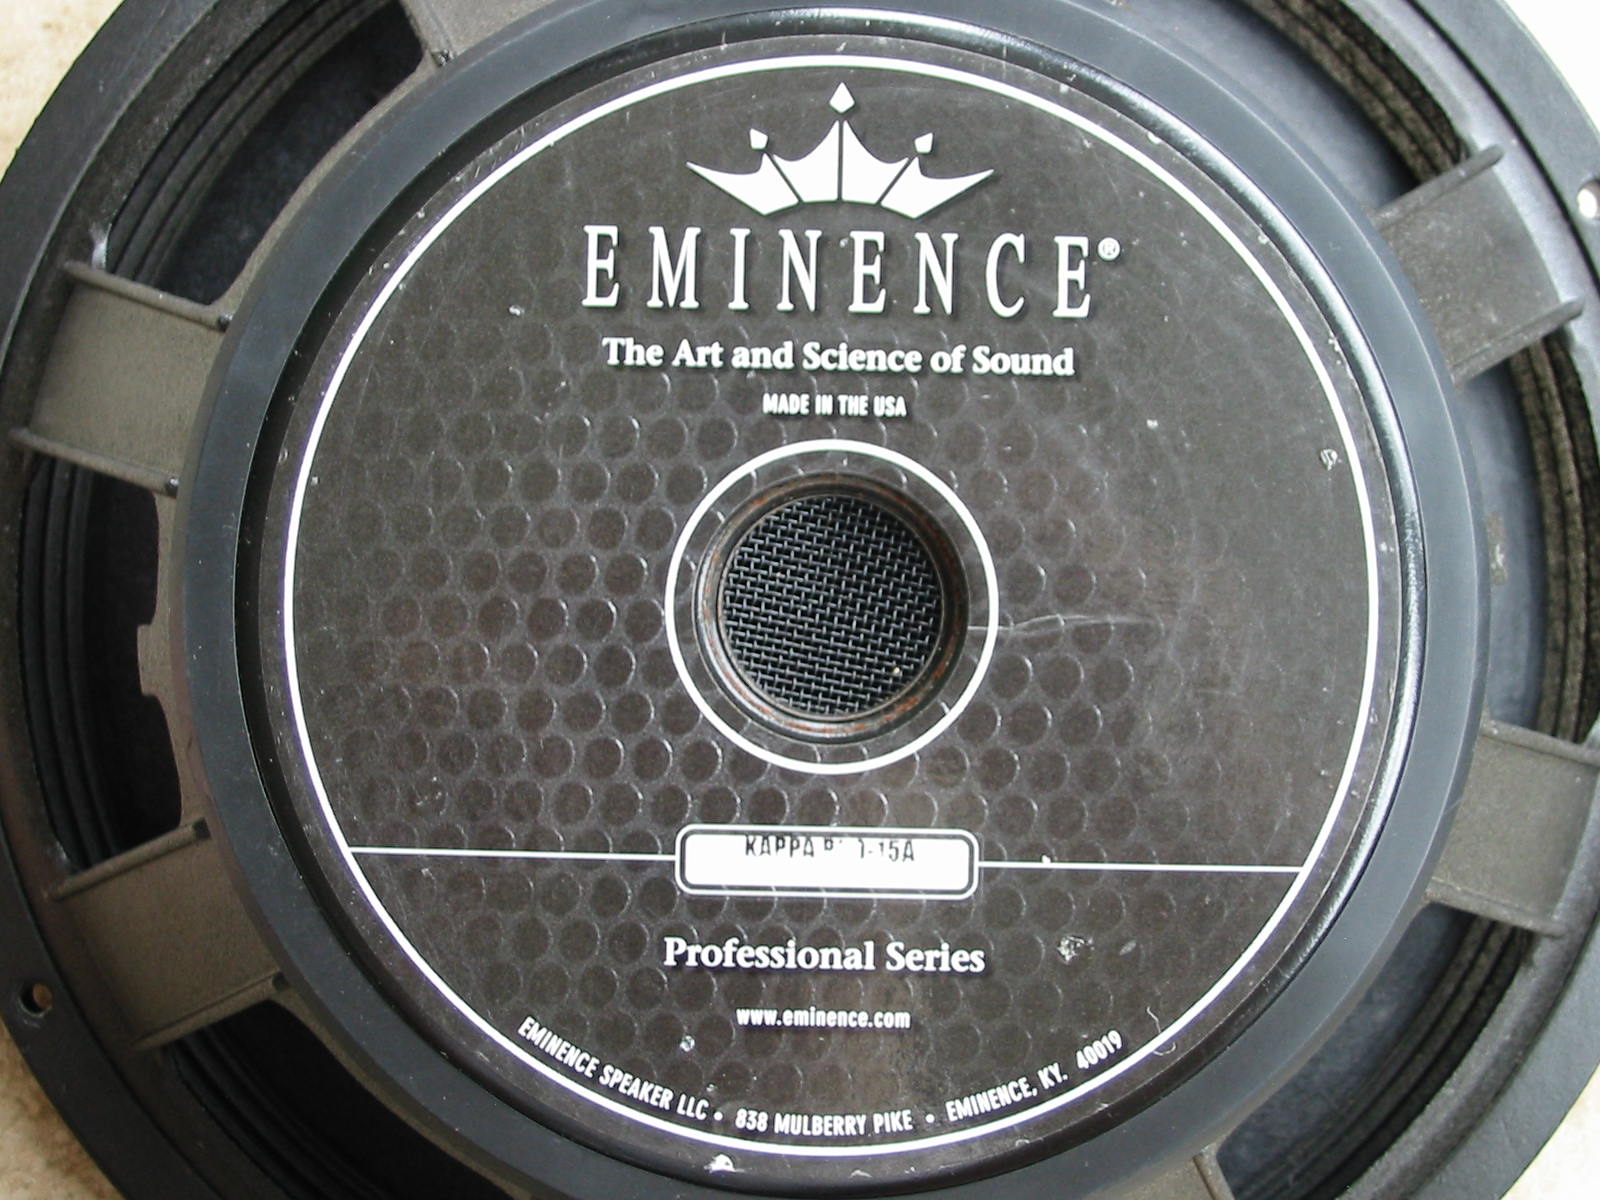
Terminals and magnet:
https://www.badcaps.net/forum/attach...1&d=1477969159
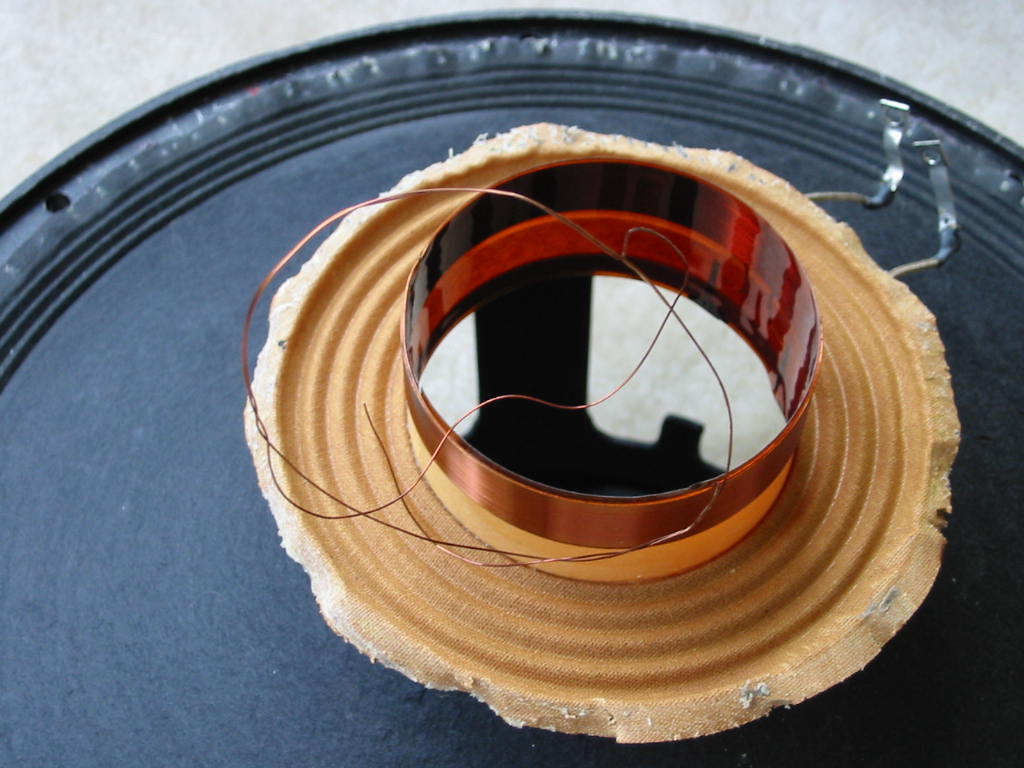
As you can see, it looks alright on the outside. But besides the completely open VC reading that I got, pushing down or pulling up the speaker cone made the VC produce a nasty scratching sound. I could even hear lots of metallic scraping noises, some resembling loose wire. Obviously noises like that are never good, so I started by removing the dust cap to see if there is anything in there that is visually wrong.
I took a carpet knife and started cutting right through the edges of the dust cap where it is glued to the cone. This is what was under the dust cap:

Yes, sirs and madams, that doesn't look good to me either!
I guess it really is time to disassemble the speaker completely.
Unlike most speaker repairs, where one simply starts tearing the old parts out and puts new ones in, I wanted to do the repair without buying replacement parts, if possible - more so as a challenge than anything else. Because of this, my goal was to not rip or destroy anything in the process. In particular, I tried to preserve anything that could later be re-used again (like the speaker cone, surrounds, spider, and voice coil former). I have rewound speaker voice coils before by hand (on small cheap 4 ½ inch speakers, that is), and it is a bit tricky, but definitely doable and fun, IMO.
So where does one start on a speaker like this?
– Normally, the cone surround; it needs to be separated from the basket/frame. Before starting that, however, I put the dust cap back on… but backwards (i.e. with the dome inverted like a cup), so that if any debris fell from the surround removal, it wouldn't get in the magnet gap. And that was indeed a good move in this case, because before I could pry the surround off, I first had to remove the paper gasket on top (which ended up being a bit messy). The removal of the paper gasket simply involved inserting a flat-head screwdriver between the speaker basket and the paper gasket, then prying away. It came off fairly easily.
Removing the surround, on the other hand, was probably one of the hardest parts about this speaker repair. The glue that Eminence used was that clear, sticky, snotty stuff similar to what bubble mail packages use, but much tougher. To remove it, I had to heat the basket and surround in portions (used my heat gun on the low setting for that) and then use a small sharp screwdriver to separate the surround from the basket/frame. NOTE: this is a very slooow process. After about an hour of prying and chipping, I got the surround off. Here is the not-so-pretty result, with the dust cap and gasket removed, and surround unglued:
https://www.badcaps.net/forum/attach...1&d=1477969159
Whew! That took a while to do (and explain too, lol). But the fight definitely wasn't over, because next came the spider removal from the speaker basket/frame. I was hoping that Eminence didn't use that snotty glue there again… but they did.
Thus, I struggled quite a bit to find a way to remove the spider easily and without damage. But to make a long thread a bit shorter, I will just jump straight to the method that I found works best, because I could otherwise type a book here on everything that I did and didn't try.
So, the method I found was rather simple after all, and without any special tools or supplies…. just needed a flat-head screwdriver, a sharp chisel, a hammer, and needle-nose pliers. To understand what I tried to do next, here is a picture:
https://www.badcaps.net/forum/attach...1&d=1477969456
Starting on the left, I first pried up (with the screw driver) on the white silicone that sits right on the edge of the spider, then used the needle-nose plies to pull it off, as seen on the right. Next, I took the chisel, placed it between the spider's edge and the speaker basket, then I gently whacked the chisel's handle with the hammer. Once the spider started to separate from the basket, I held the chisel in a downward angle (towards the basket/magnet area) and continued to hammer/chip away from the spider in a slightly right-ward direction. This helped keep the spider from ripping (though I still managed to put a few small rips on it here and there… but nothing critical.)
After lots of chipping, the speaker cone was finally ready to go. The final step in the disassembly process was to detach the flexible wires that go between the speaker terminals and speaker cone (they were held with screws, so I didn't need to unsolder anything here). Did that and out came the speaker cone.
AT LAST!!!
And here is a picture of the empty basket and magnet gap from up close:
https://www.badcaps.net/forum/attach...1&d=1477969159
https://www.badcaps.net/forum/attach...1&d=1477969159
Stay tuned as I have two more posts coming right after this one.
For those of you who are drinking something now, you might want to go and refill your drink here, because this could take a while to read.
As usual, I always start with the item in its “as is” condition.
Overall view:
Top view:
https://www.badcaps.net/forum/attach...1&d=1477969159
(notice how small the GU10 light bulb is compared to the speaker)
Bottom (sticker) view:
Terminals and magnet:
https://www.badcaps.net/forum/attach...1&d=1477969159
As you can see, it looks alright on the outside. But besides the completely open VC reading that I got, pushing down or pulling up the speaker cone made the VC produce a nasty scratching sound. I could even hear lots of metallic scraping noises, some resembling loose wire. Obviously noises like that are never good, so I started by removing the dust cap to see if there is anything in there that is visually wrong.
I took a carpet knife and started cutting right through the edges of the dust cap where it is glued to the cone. This is what was under the dust cap:
Yes, sirs and madams, that doesn't look good to me either!
I guess it really is time to disassemble the speaker completely.
Unlike most speaker repairs, where one simply starts tearing the old parts out and puts new ones in, I wanted to do the repair without buying replacement parts, if possible - more so as a challenge than anything else. Because of this, my goal was to not rip or destroy anything in the process. In particular, I tried to preserve anything that could later be re-used again (like the speaker cone, surrounds, spider, and voice coil former). I have rewound speaker voice coils before by hand (on small cheap 4 ½ inch speakers, that is), and it is a bit tricky, but definitely doable and fun, IMO.
So where does one start on a speaker like this?
– Normally, the cone surround; it needs to be separated from the basket/frame. Before starting that, however, I put the dust cap back on… but backwards (i.e. with the dome inverted like a cup), so that if any debris fell from the surround removal, it wouldn't get in the magnet gap. And that was indeed a good move in this case, because before I could pry the surround off, I first had to remove the paper gasket on top (which ended up being a bit messy). The removal of the paper gasket simply involved inserting a flat-head screwdriver between the speaker basket and the paper gasket, then prying away. It came off fairly easily.
Removing the surround, on the other hand, was probably one of the hardest parts about this speaker repair. The glue that Eminence used was that clear, sticky, snotty stuff similar to what bubble mail packages use, but much tougher. To remove it, I had to heat the basket and surround in portions (used my heat gun on the low setting for that) and then use a small sharp screwdriver to separate the surround from the basket/frame. NOTE: this is a very slooow process. After about an hour of prying and chipping, I got the surround off. Here is the not-so-pretty result, with the dust cap and gasket removed, and surround unglued:
https://www.badcaps.net/forum/attach...1&d=1477969159
Whew! That took a while to do (and explain too, lol). But the fight definitely wasn't over, because next came the spider removal from the speaker basket/frame. I was hoping that Eminence didn't use that snotty glue there again… but they did.
Thus, I struggled quite a bit to find a way to remove the spider easily and without damage. But to make a long thread a bit shorter, I will just jump straight to the method that I found works best, because I could otherwise type a book here on everything that I did and didn't try.
So, the method I found was rather simple after all, and without any special tools or supplies…. just needed a flat-head screwdriver, a sharp chisel, a hammer, and needle-nose pliers. To understand what I tried to do next, here is a picture:
https://www.badcaps.net/forum/attach...1&d=1477969456
Starting on the left, I first pried up (with the screw driver) on the white silicone that sits right on the edge of the spider, then used the needle-nose plies to pull it off, as seen on the right. Next, I took the chisel, placed it between the spider's edge and the speaker basket, then I gently whacked the chisel's handle with the hammer. Once the spider started to separate from the basket, I held the chisel in a downward angle (towards the basket/magnet area) and continued to hammer/chip away from the spider in a slightly right-ward direction. This helped keep the spider from ripping (though I still managed to put a few small rips on it here and there… but nothing critical.)
After lots of chipping, the speaker cone was finally ready to go. The final step in the disassembly process was to detach the flexible wires that go between the speaker terminals and speaker cone (they were held with screws, so I didn't need to unsolder anything here). Did that and out came the speaker cone.
AT LAST!!!
And here is a picture of the empty basket and magnet gap from up close:
https://www.badcaps.net/forum/attach...1&d=1477969159
https://www.badcaps.net/forum/attach...1&d=1477969159
Stay tuned as I have two more posts coming right after this one.
Attached Files

 )
)


Comment