Hello All,
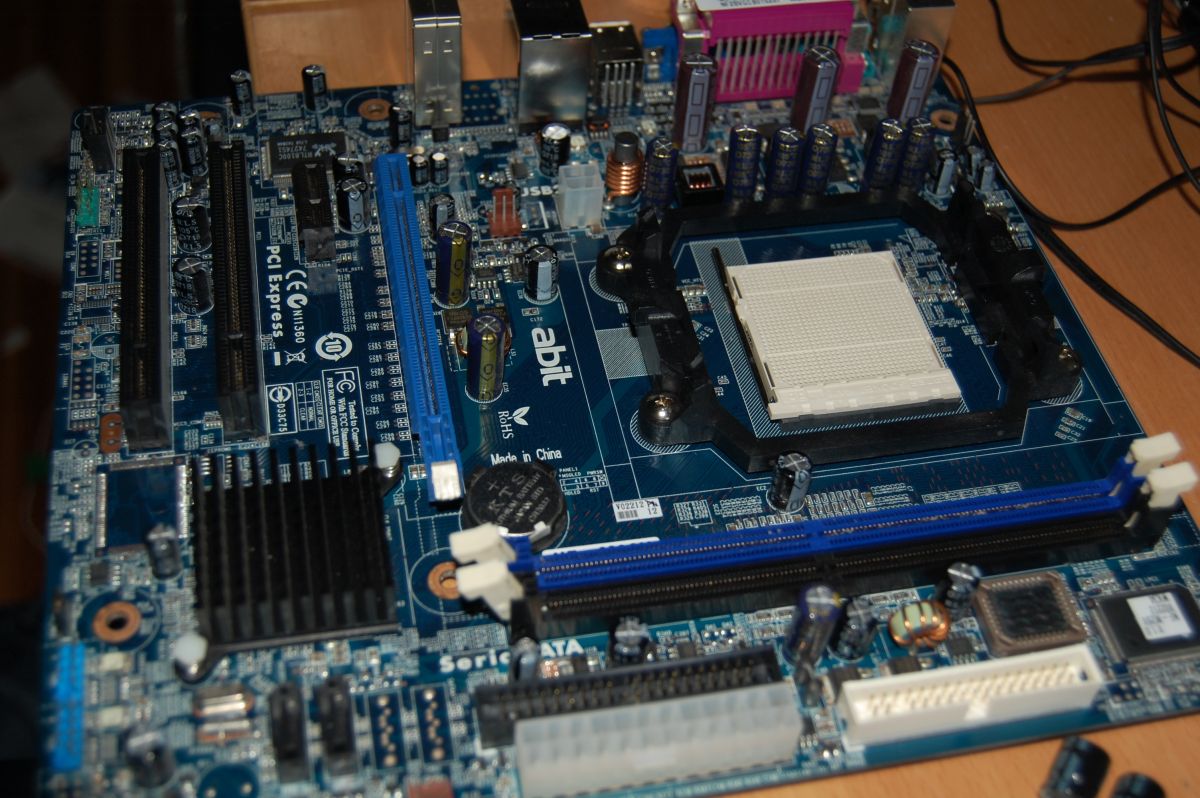
I am trying to repair an old Abit ST6-R motherboard.
The symptoms are the following:
I got it in a non-working state. I was told that it sometimes turned on, but many times just the CPU fan was spinning and no other signs of life, the board didn't POST, and now it doesn't POST at all.
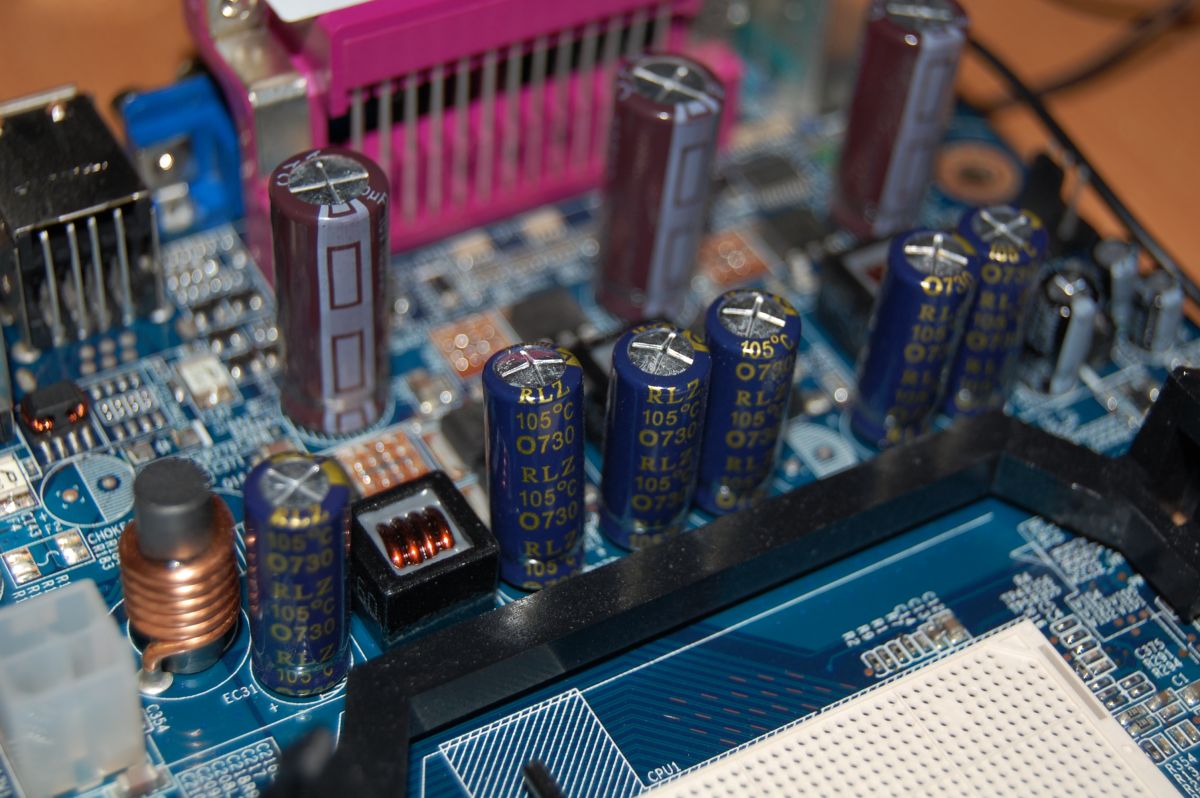
It was full of bulged electrolytic capacitors, so I replaced all of them with new Low-ESR ones, but it didn't solve the problem.
If I install a CPU in the S370 socket, only the fans are spinning and no POST. There are no beep codes even if the RAM DIMMs...


Comment